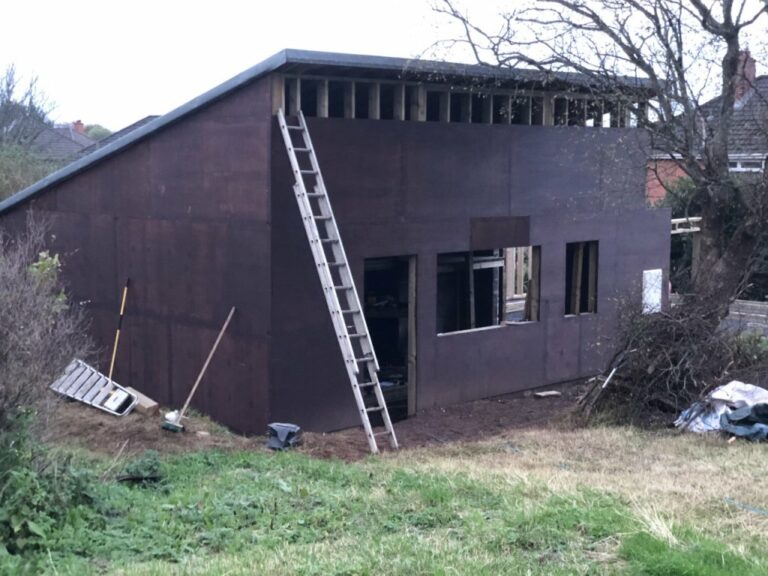
So with Storm Babet now out of the way, and looking for dry spells in amongst the wet, it was time to get back to the build. More of the front panelling went up, finished off the framing and installation of the electric box.
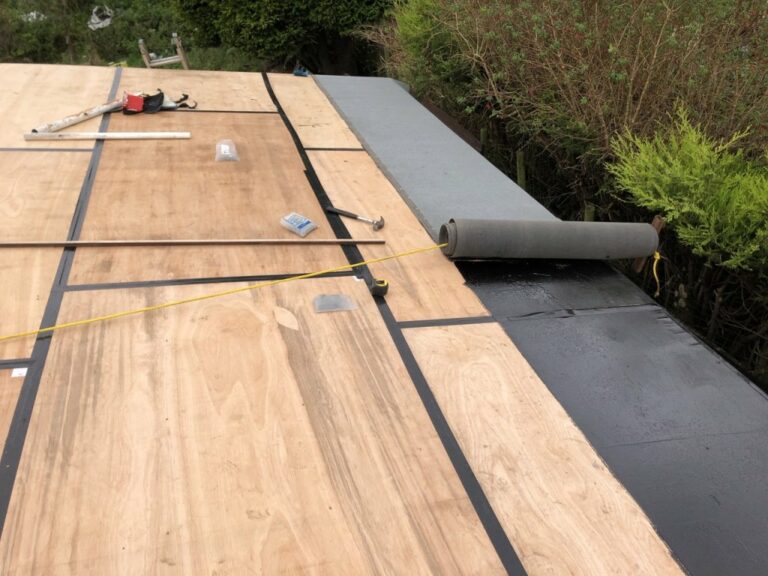
Next up was to tackle the roof. The 8’x4′ ply boards are heavy enough to lug around at the best of time, but to start hauling them up onto the roof was enough to make even Popeye loose hope. One small thing in my favour was the fact that the back was so much lower than the front, so was able to just about lean the boards on the edge and push up onto the roof, then drag into position. Once up and fixed, it was time to tape the joints to help make it watertight before the roofing felt goes on.
Nine rolls of felt was needed to cover this section of roof, all glued down with bitumen tar and tacked into place. This was done over several days, as the boards needed to be dry, so it was a case of looking at the local weather on our phones and working out when best to tackle the next section. This was a joint job between the wife and myself. Many hands and all that.
The rear of the building, lowest side, has a drip overhang to allow the addition of guttering, which will eventually move the rainwater into a soak away in the garden.
Was so glad when this was finished as it now gives me a dry location to work from if needed.
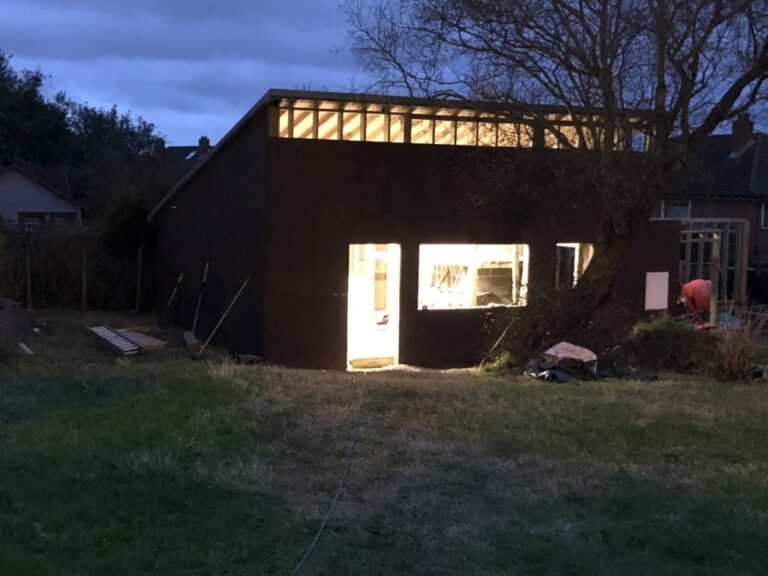
With the clocks now going back and the nights getting a lot earlier, it was time, see what I did there, to get the electrics in. First up was the lighting. Ordered four 5 foot batten lights, that can be set to 3 different lighting tones. Interesting to see these in action, so let there be light.
Wrapping a building for Christmas
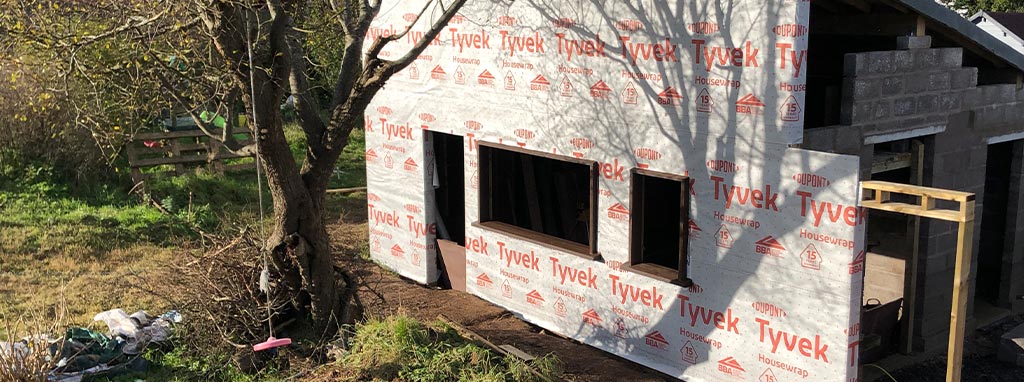
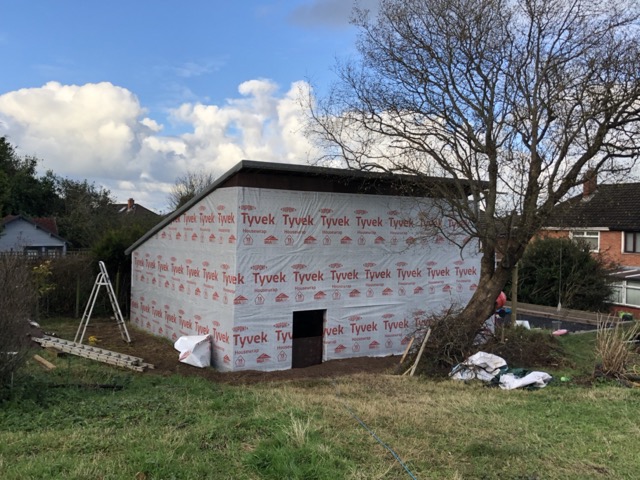
With the exterior now fully boarded out we need to make this more waterproof so we’ll be covering the whole exterior with a Tyvek housewrap. You see it on a lot of building programmes, especially in the U.S.
Ended up buying 100 metres of the stuff, which is all on one roll with a height 1.4 metres, and weighs a fair amount. The first and second rows went on without a hitch, but the third one we needed to be a bit more creative, with it being so much higher.
In the end we threaded a rope through the middle of the tube and a stopper on the end. My wife then got up onto the roof and dropped the housewrap down the side so I could tack it down, and we progressed around the outside, unrolling a section at a time.
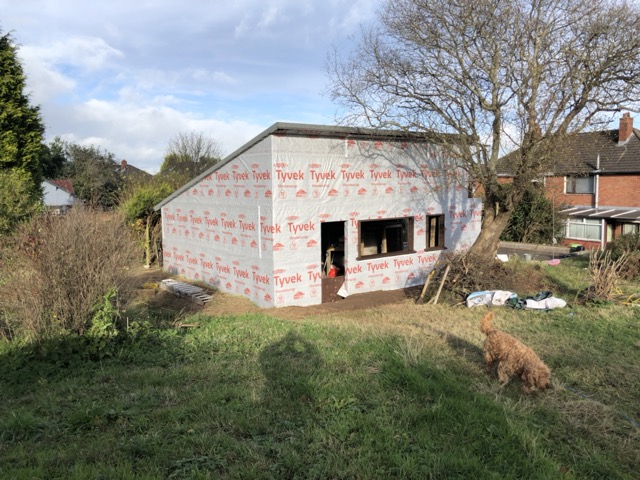
As you can see, the workshop was all wrapped up for Christmas.
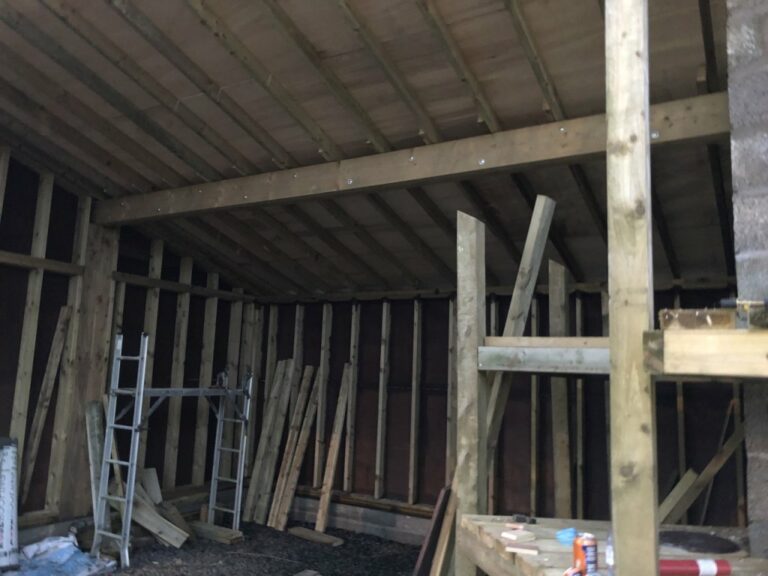
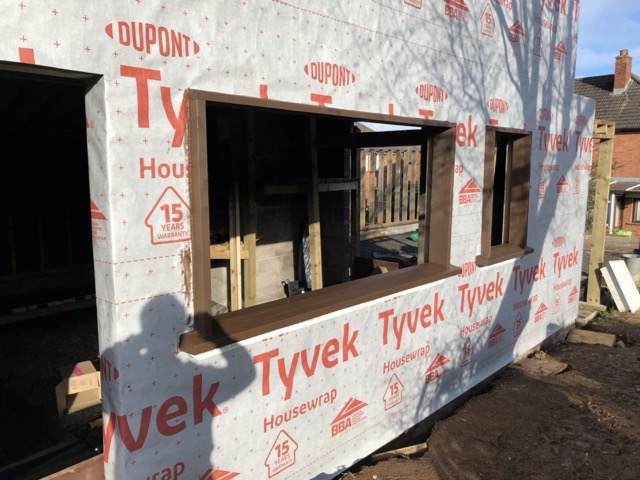
So with the exterior walls now covered with wrap it was time to look at the windows, doors and internals.
The window areas were cut out of the wrap, and I used one of the leftover beams to create a window sill. These are 9″ x 3″ and chunky enough for the look I was after. I created a slope to allow the water to run off and a drip channel underneath to help prevent the water being blown back up on the underside. Used scraps of wood then to make the outer framing for the windows and doors, giving them a good lick of sealer and wax paint to finish. This was now starting to looking like something.
I’m not getting proper windows installed yet, but will put just sheets of plastic for now. I did get prices for these, so will probably add these sometime at the start of the new year.
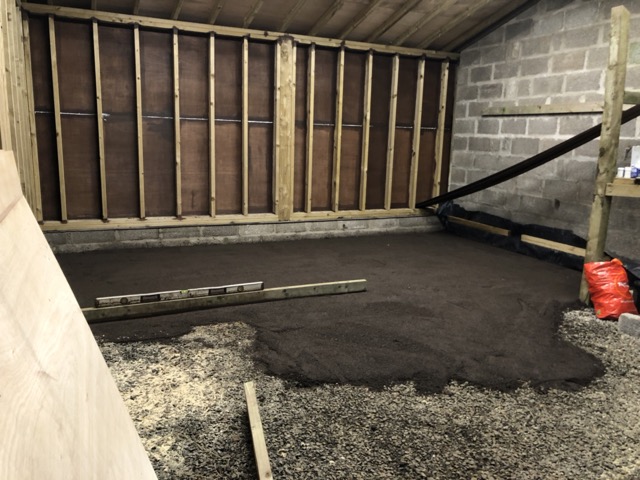
So next up is the internal floor. This needs levelled off, a dust layer, damp proofing, concrete, insulation, and flooring. There are basically 2 ways of doing this. Put the insulation down first and concrete over the top of it, or lay the concrete first and insulate over that. The first is more suitable for a house where the concrete acts as a large storage unit, trapping heat during the day and releasing it at night. The second option allows for the rapid heating of the area due to the insulation being on top. Since we will more than likely be working in the workshop during the day and at home during night the second option is the obvious one.
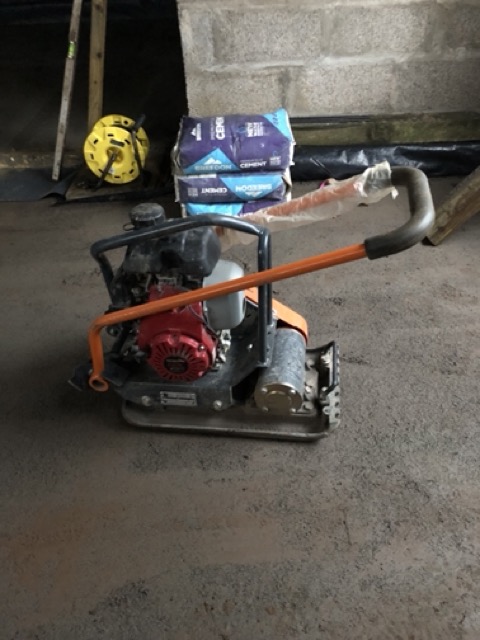
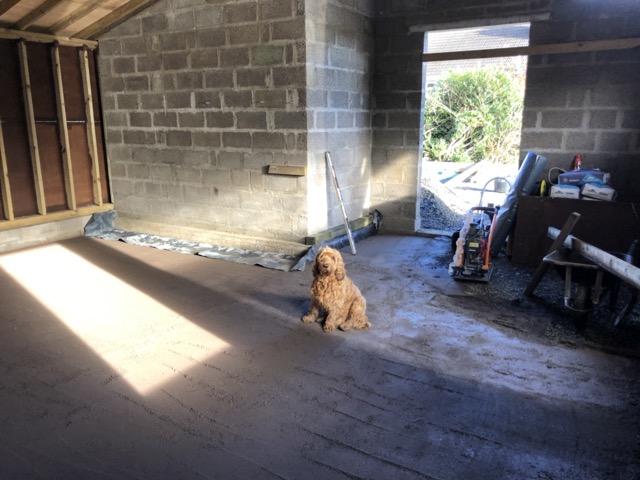
So extra hardcore stone was added to level off the ground, next the dust went down and a whacker plate used to embed the dust between the stone and compact everything down. The Foreman obviously had to come in and check everything was up to his standard. The quarry dust also helps to prevent any sharp stones from puncturing the damp proof membrane.
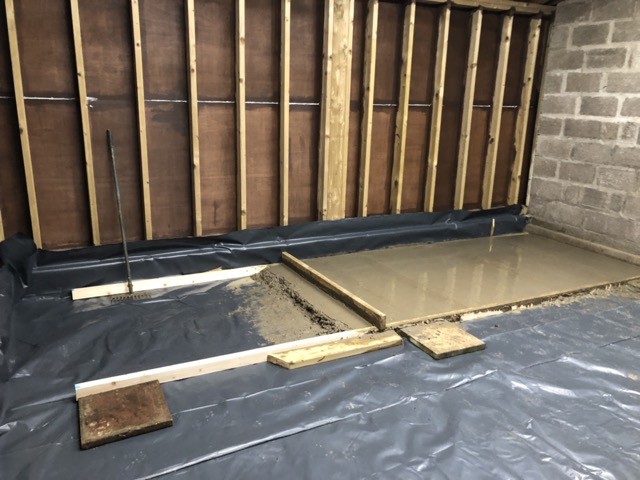
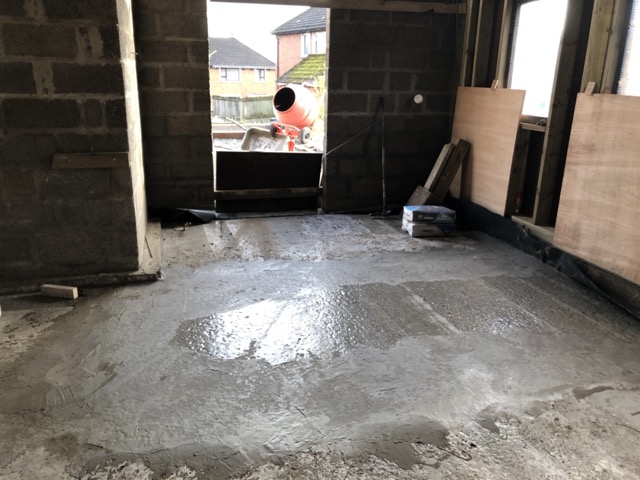
Once complete it was time for concreting. Last time I use a concrete company and hired a pump for the foundations. This was a very expensive option, but the job was done really quickly. This time I decided to do the flooring and mixing of concrete myself, saving at least £2,000. Running at 4″ in depth and given the size of the flooring, this was going to be done over a number of days as can be seen from the photos below.
After several tonnes of sand and stone, and 44 bags of cement, the floor area was finally finished, and looked well. Have to let the concrete harden, but next we will be laying the insulation board, taping up and then the final floorboards can be put down.